The Puva theme allows you to create and manage blog posts seamlessly using the WordPress editor. Follow the steps below to add a new post to your website.
1. Adding a New Post
Navigate to Dashboard → Posts → Add New.
Enter a title for your post.
Write your content in the WordPress editor.
Set featured image.
Assign the post to a category and add relevant tags from the right sidebar.
2. Configuring Post Options
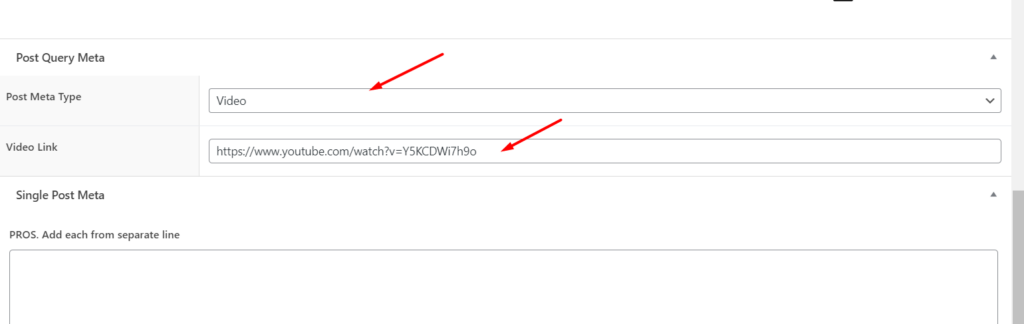
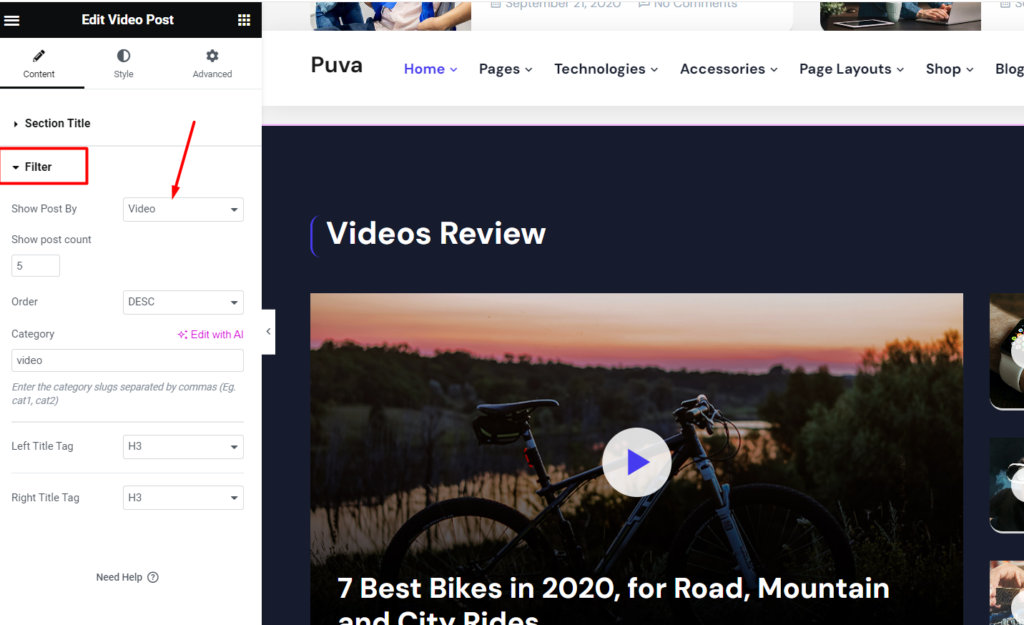
Post Query Meta is used for filtering the posts. Here used Default, Trending, Top Review, Video, Tech & Gadgets, Latest Review, Car Accessories. For Latest posts you can empty this field. To filtering the posts correctly you also need to set the post filtering in elementor edit mode. Please check the below screenshots:
Video Posts:
The above screenshots are related to two each other. If you are using ‘Show post by’: Default in elementor edit mode for a specific section, please make sure your ‘posts meta type’ is also Default.
Step 7: Once you are finished, click Publish to save the post.
Here is the screenshot that shows the various areas of the blog post page:
The Puva theme provides additional customization options for single blog posts:
Single Blog Options
Show/Hide Post Banner – Enable or disable the banner at the top of the post.
Navbar Style – Choose between different navigation bar styles for the post.
+ More
3. Publishing the Post
Review your content and formatting.
Click Preview to check how the post looks before publishing.
Click Publish to make the post live.
4. Displaying Blog Posts on Your Website
If you want to display your blog posts on a specific page:
Go to Dashboard → Settings → Reading.
Under Your homepage displays, select A static page.
Choose a dedicated page for your blog posts under the Posts Page option.
Click Save Changes.
Final Notes
The Puva theme alsoahve additional custom blog settings under Theme Options → Blog Settings.
Always optimize your post content for SEO by adding proper headings, meta descriptions, and internal links.