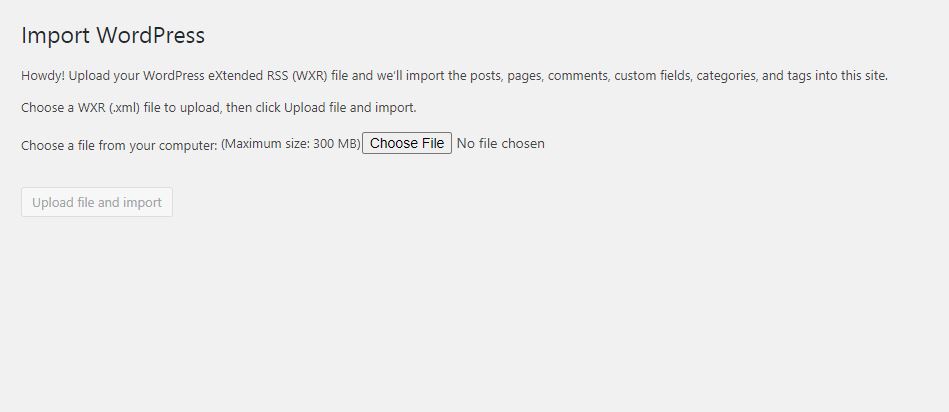
Our demo data import lets you have the whole data package in minutes, delivering all kinds of essential things quickly and simply. All you need to do is to navigate to Tools> Import > WordPress click Install Now and then click Run Importer.

Choose XML file from your downloadable folder and hit the Upload file and import button.
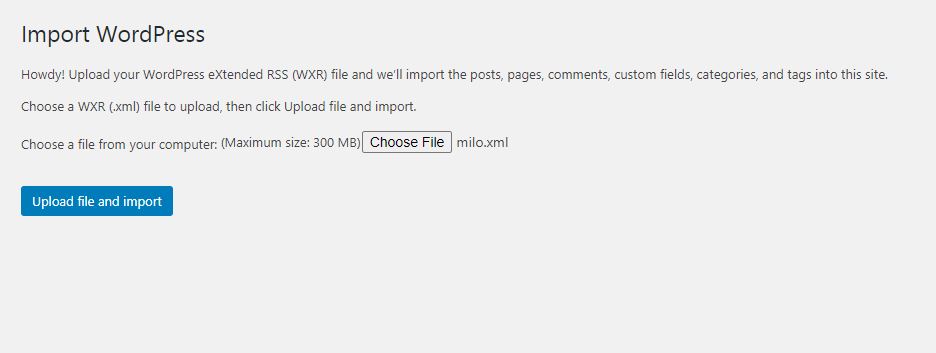
The XML file name is milo.xml, choose this file from your computer
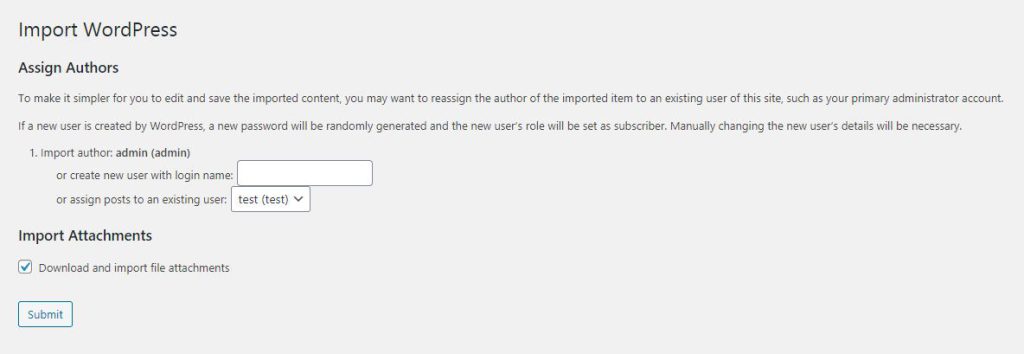
Then you get this options for select author and also media file attachments yes or no. You should select an author and enable media file attachments for properly show all images.
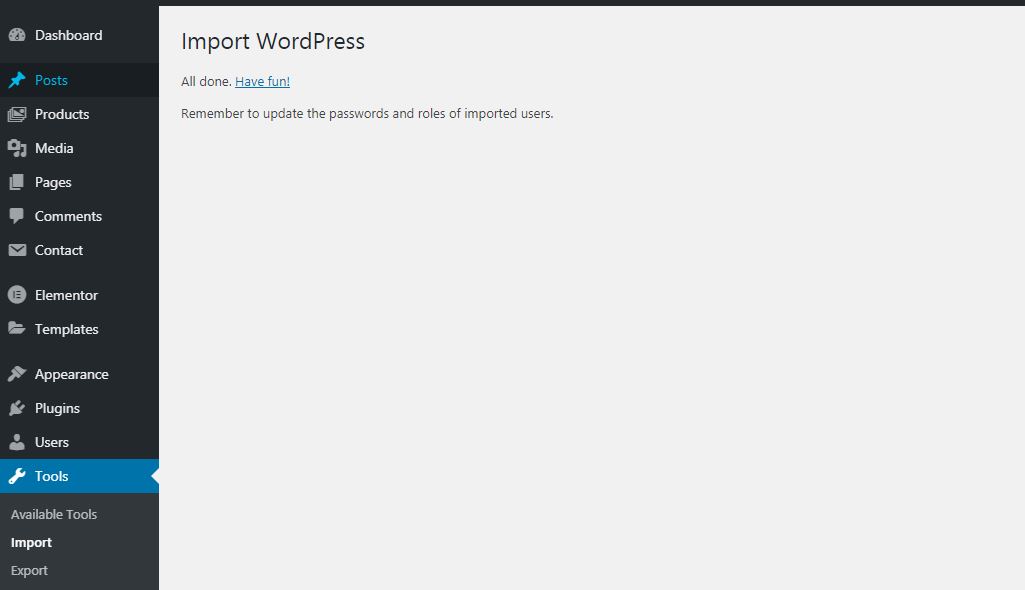
After import all demo content, you will get this successfull message.
Go to Settings > Reading > Front page displays and choose the page you like to be your front page.
page then hit Save changes.
After that you have to create menu and widgets.
The menu set to be primary menu.
All of your widgets set to be milo footer area and milo sidebar area.
Your plugin has been set up correctly!
Theres is another for import specific page or single part via elementor.
Go to Templates – Saved Templates – Import Templates
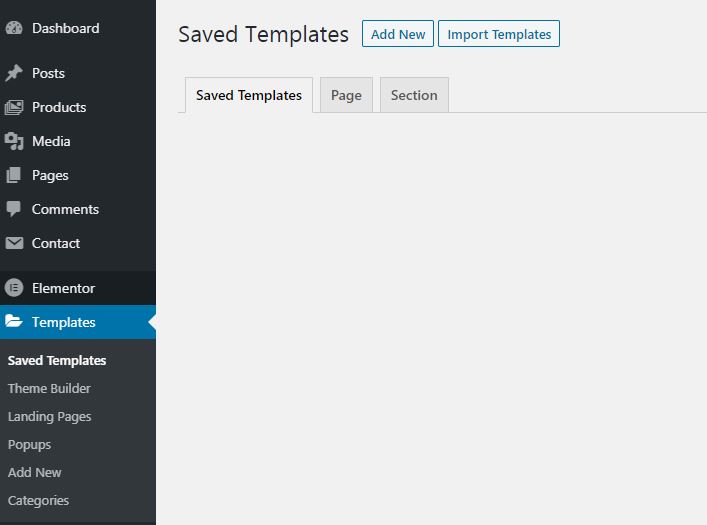
After click on Import Templates button, you get an option for choose file for demo content. There are multiple types of json file for specific page.
Choose an Elementor template JSON file or a .zip archive of Elementor templates, and add them to the list of templates available in your library.
