After purchasing Sekia, please download the package from EnvyTheme. All you need to do is moving your mouse over your login name at the right top corner – after you log in EnvyTheme, and then click Click Here Button.
Here you will find all the items that you have purchased. Hover to Click Here button and download the file.
If you are updating your website theme from an older version then please make sure taking Backup of the complete website Files and the Database for any future reference.
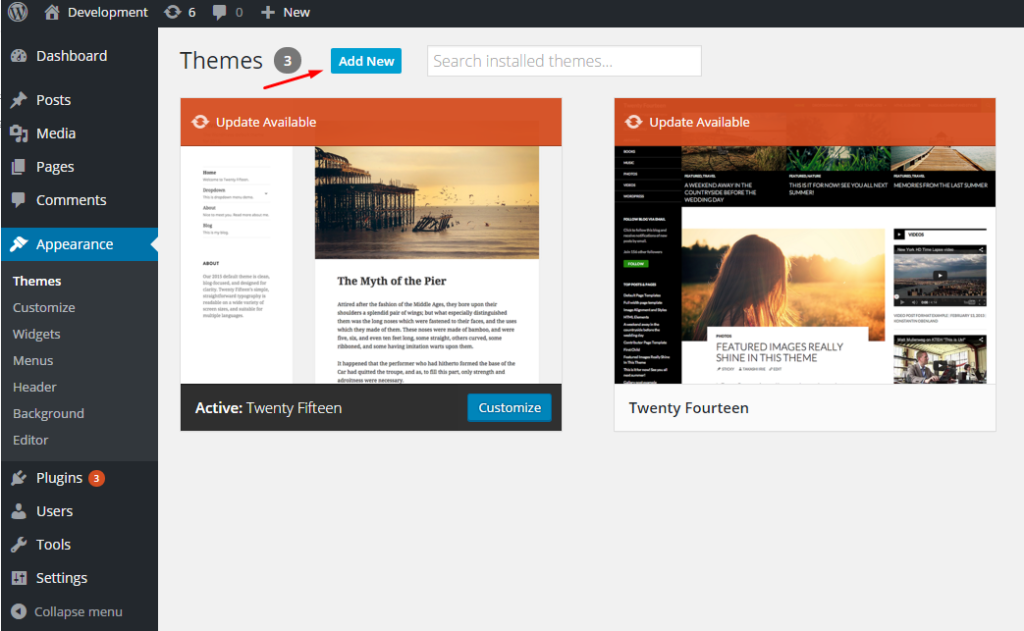
Step 1: Navigate to Appearance > Themes

Step 2: Click Add New, then click Upload Theme > Choose File

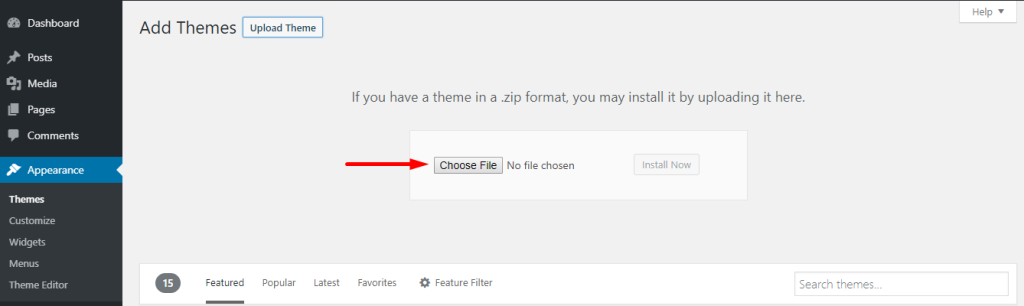
Step 3: Navigate to the .zip file on your computer, then click Install Now

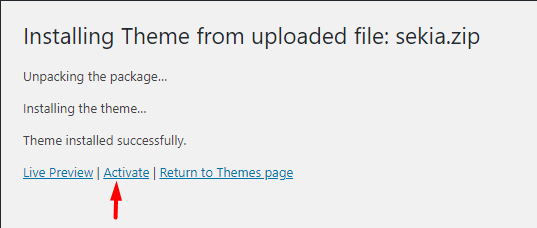
Step 4: When the installation completes, click Activate. You will be redirected to Themes page with Sekia activated.

Step 1: Unzip zip file package – the zip package is inside Sekia files folder you have downloaded from ThemeForest Sekia.
Step 2: Connect to your FTP server and navigate to the folder where your WordPress is installed.
Step 3: Go to wp-content/themes/ and upload theme folder (the path will look like this: wp-content/themes/sekia)
Step 4: Open WordPress admin panel (navigate through the web-browser to the folder where you have installed the WordPress e.g www.yourdomain.com/wp-admin/) and go Appearance > Themes on admin sidebar. Activate Sekia